Management plane onboarding
Onboard a Fully Managed deployment through a one-time Admin Console wizard: organization details, SSO, providers, and models. Data-plane credentials are never created, downloaded, or regenerated during Fully Managed onboarding.
The onboarding wizard
The wizard launches automatically on the first sign-in to the Admin Console; there is no separate onboarding URL. Each step has Next and Previous controls. Next is enabled once the current step's required fields are filled; Previous returns to any earlier step to review or change a value.
Step 1
Organization Name
Identify the tenant.
Step 2
Corporate Login
Configure SSO over OpenID Connect (OIDC). For evaluations without corporate identity provider (IdP) admin access, use Auth0 as a temporary IdP.
Step 3
LLM Providers
Connect providers such as OpenAI and Anthropic.
Step 4
LLM Models
Choose which models are exposed.
Step 5
Review AI Gateway
No action needed. This step summarizes the onboarding status.
Step 6
Setup Complete
The Admin Console can now be accessed by signing in with SSO.
On Fully Managed, Step 5 is labeled Review AI Gateway, not Configure AI Gateway. It reports whether Tetrate's gateway is ready and asks for nothing: there is no credential to create, regenerate, or download. That credential workflow only appears on Self-Hosted Data Plane installs. Next is enabled regardless of what the status shows, so Complete setup is always reachable.
Plan for 15 to 30 minutes, plus any back-and-forth with the IdP team during Step 2.
Prerequisites
Have the following on hand before launching the wizard. Step 2 is hard to complete without the IdP details:
- Access to the Admin Console. Tetrate provides the URL during provisioning.
- Initial admin credentials for the first sign-in, which happens before SSO is configured in the wizard.
- API credentials for at least one LLM provider, for example an OpenAI API key. At least one API key must be available during onboarding.
- OIDC IdP details: issuer URL, client ID, client secret, scopes. Tetrate Agent Router supports OIDC only; SAML, LDAP, and other protocols are not supported. For an evaluation without IdP admin access, use the Set up Auth0 for evaluation path instead.
- An IdP administrator reachable during Step 2. The wizard shows a redirect URI that must be registered on the IdP side before SSO works.
- The Gateway URL for the data plane Tetrate assigned for the deployment, listed in the provisioning email, for example
https://proxy.tare-pn-12345678.tetrate.ai. Nothing is entered with it in the wizard; the managed data plane reports the same value itself, and it appears on the default project's Data Planes tab once setup completes.
Get started
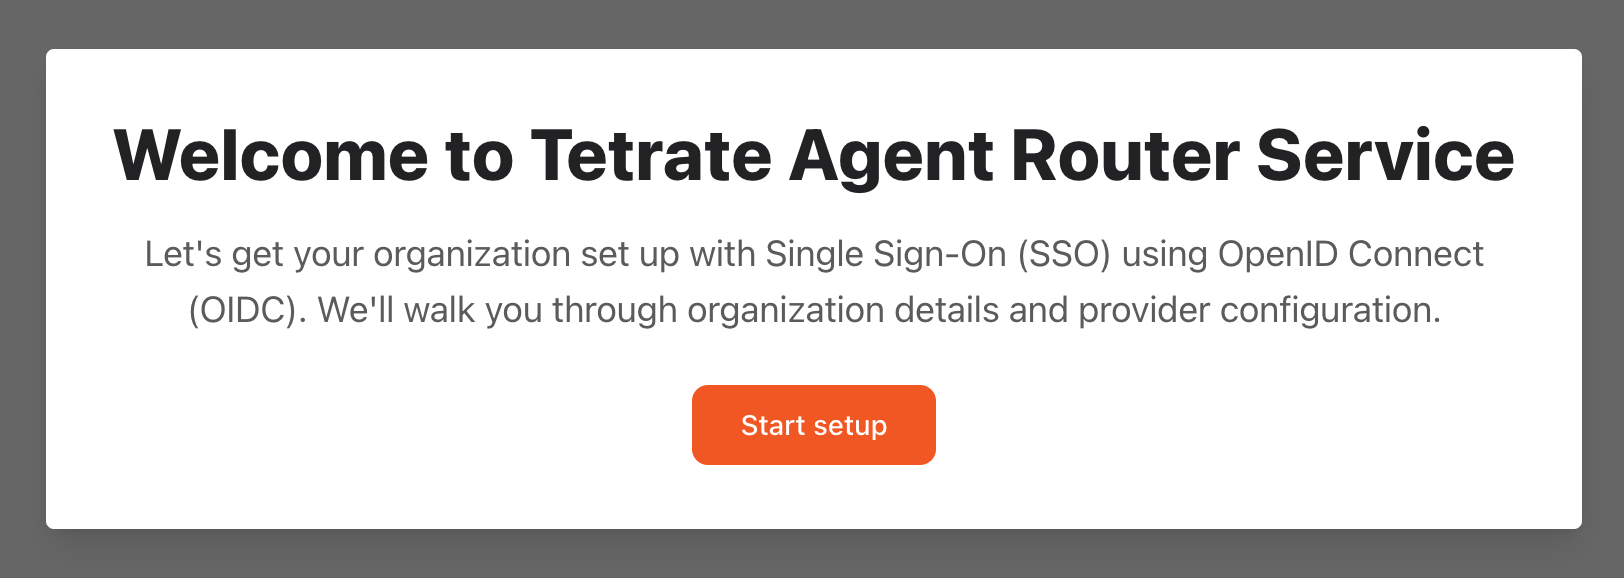
Click Start setup to begin.
Step 1: configure organization name
Fill in:
| Field | Required | Description | Sample value |
|---|---|---|---|
| Organization Name | Yes | The organization's display name | Acme Corp. |
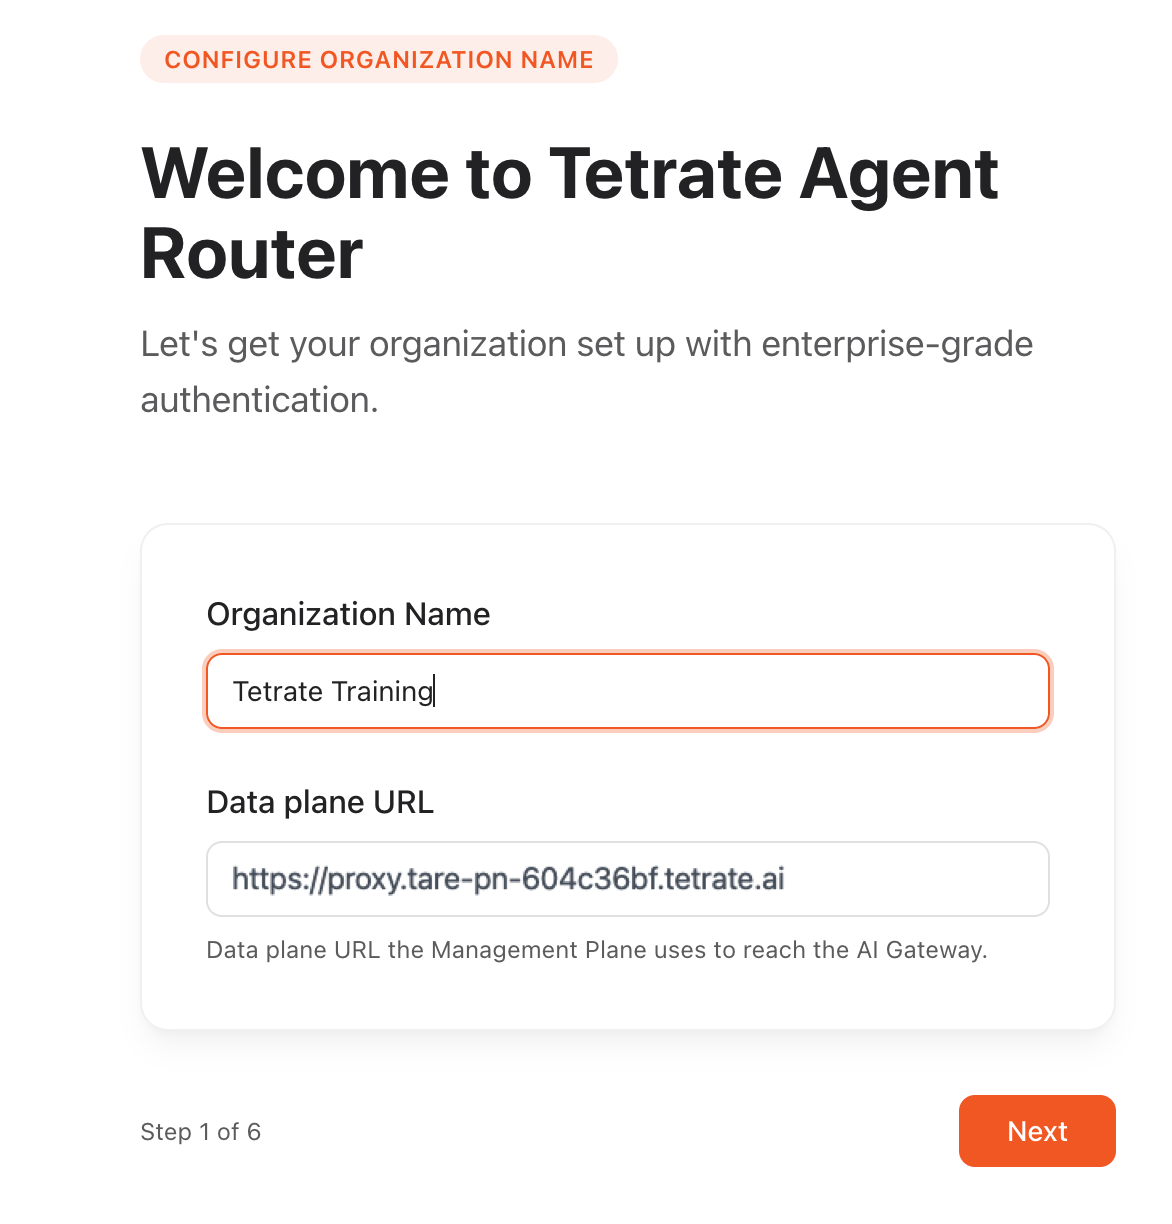
Fully Managed does not ask for a data-plane hostname here. Tetrate already operates the data plane, and the data plane reports its own address, so there is nothing to register. Confirm the address after the first SSO sign-in (see Before the first request below).
Step 2: configure corporate login (single sign-on)
SSO lets users sign in with the organization's existing identity provider.
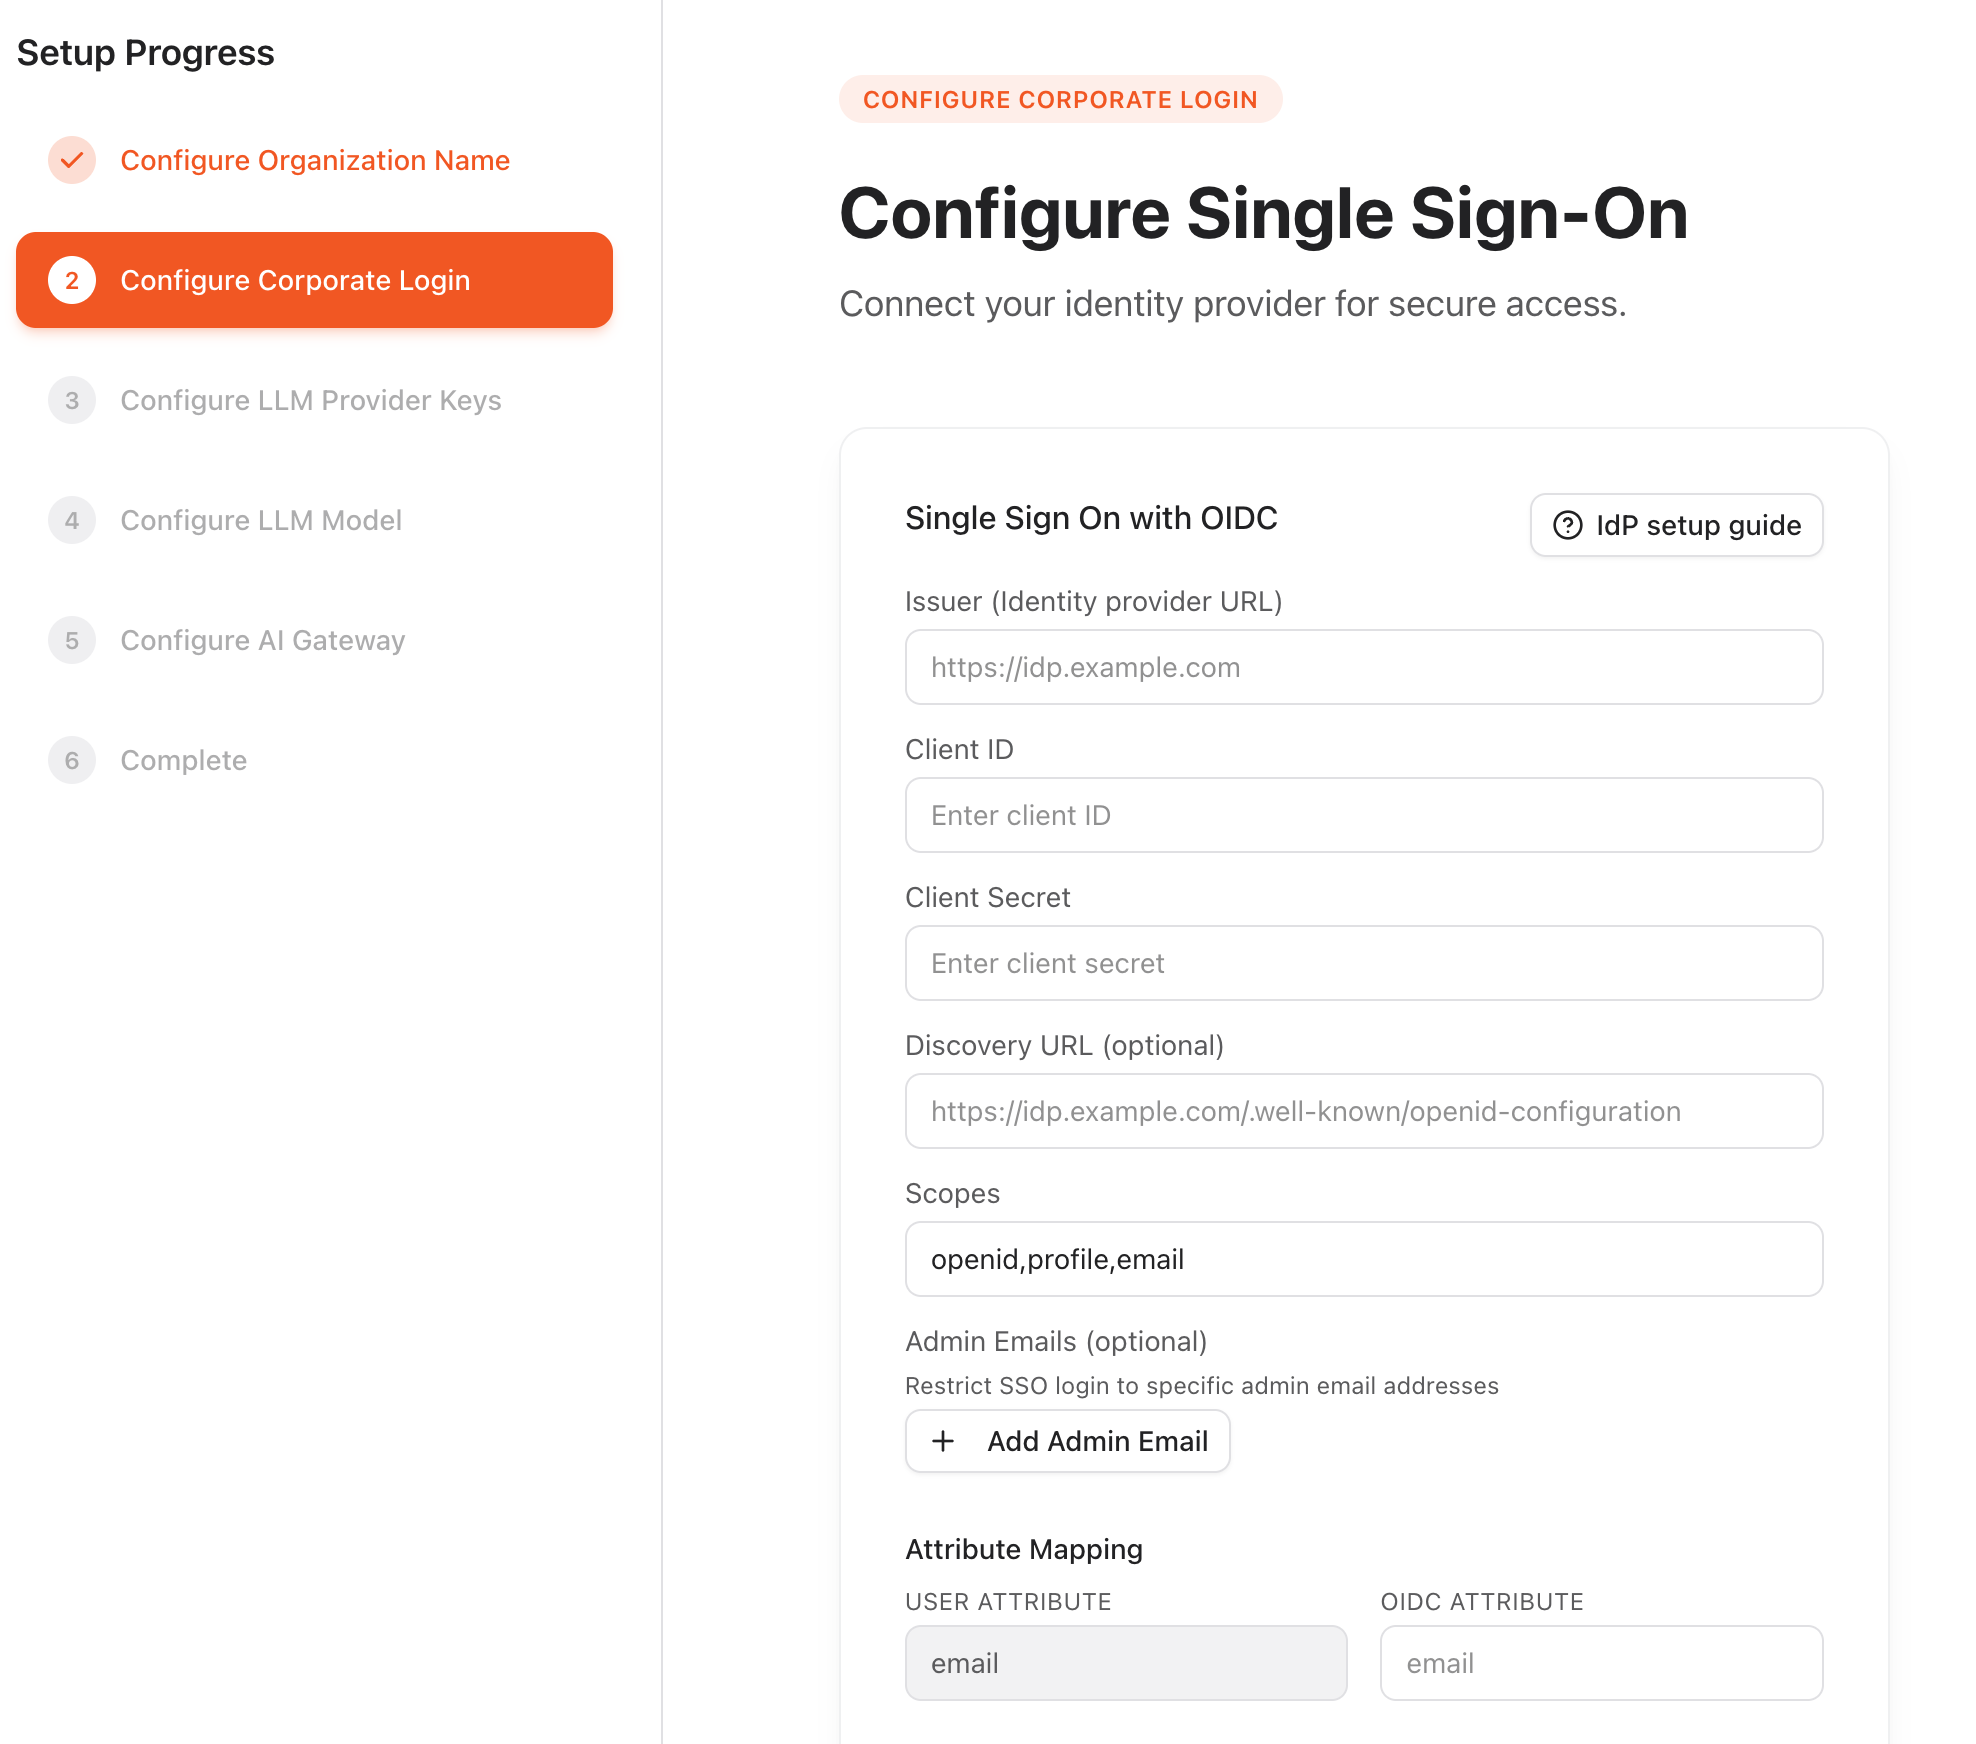
Use Auth0 as a temporary IdP rather than the corporate IdP. The Set up Auth0 for evaluation guide covers the whole sequence: create the tenant, copy the Redirect URI from this step, register the Auth0 app, and paste the credentials back into this form.
The wizard displays the OIDC redirect URI for the deployment, following the pattern:
https://api.<tenant>.tetrate.ai/v1/auth/sso/callback/corporate
Register Agent Router as an OIDC application in the IdP using that exact URI as an authorized redirect URI. An organization set up before 0.6 keeps the auth.<tenant> URL it registered; that address redirects to the current one, so nothing changes in the identity provider. Once the IdP-side application is registered and the issuer URL, client ID, and client secret are in hand, fill in:
| Field | Required | Description | Sample value |
|---|---|---|---|
| Issuer (IdP URL) | Yes | OIDC issuer URL exposed by the IdP | https://login.example.com/ |
| Client ID | Yes | OAuth client ID created for Agent Router | agent-router |
| Client Secret | Yes | OAuth client secret paired with the Client ID | •••••••• |
| Discovery URL | No | OIDC discovery document URL. If omitted, Agent Router constructs it as <Issuer URL>/.well-known/openid-configuration. Provide it only if the IdP serves discovery at a non-standard path. | https://login.example.com/.well-known/openid-configuration |
| Scopes | Yes | OAuth scopes to request | openid profile email |
| Admin emails | Yes | At least one administrator email address must be set. Emails set here are added as default project Users. Further Users are added later from the Admin Console (default project → Users). | [email protected] |
| Attribute mapping | Yes | Maps an IdP claim to the Agent Router user's email. The typical value is email. | email |
See the SSO configuration guide for details.
If SSO is misconfigured and blocks sign-in, sign back in with the initial admin credentials and reset the SSO configuration from the Admin Console settings panel.
Step 3: configure LLM provider keys
Connect Agent Router to one or more customer-managed LLM providers. At least one enabled provider is required to advance to Step 4.
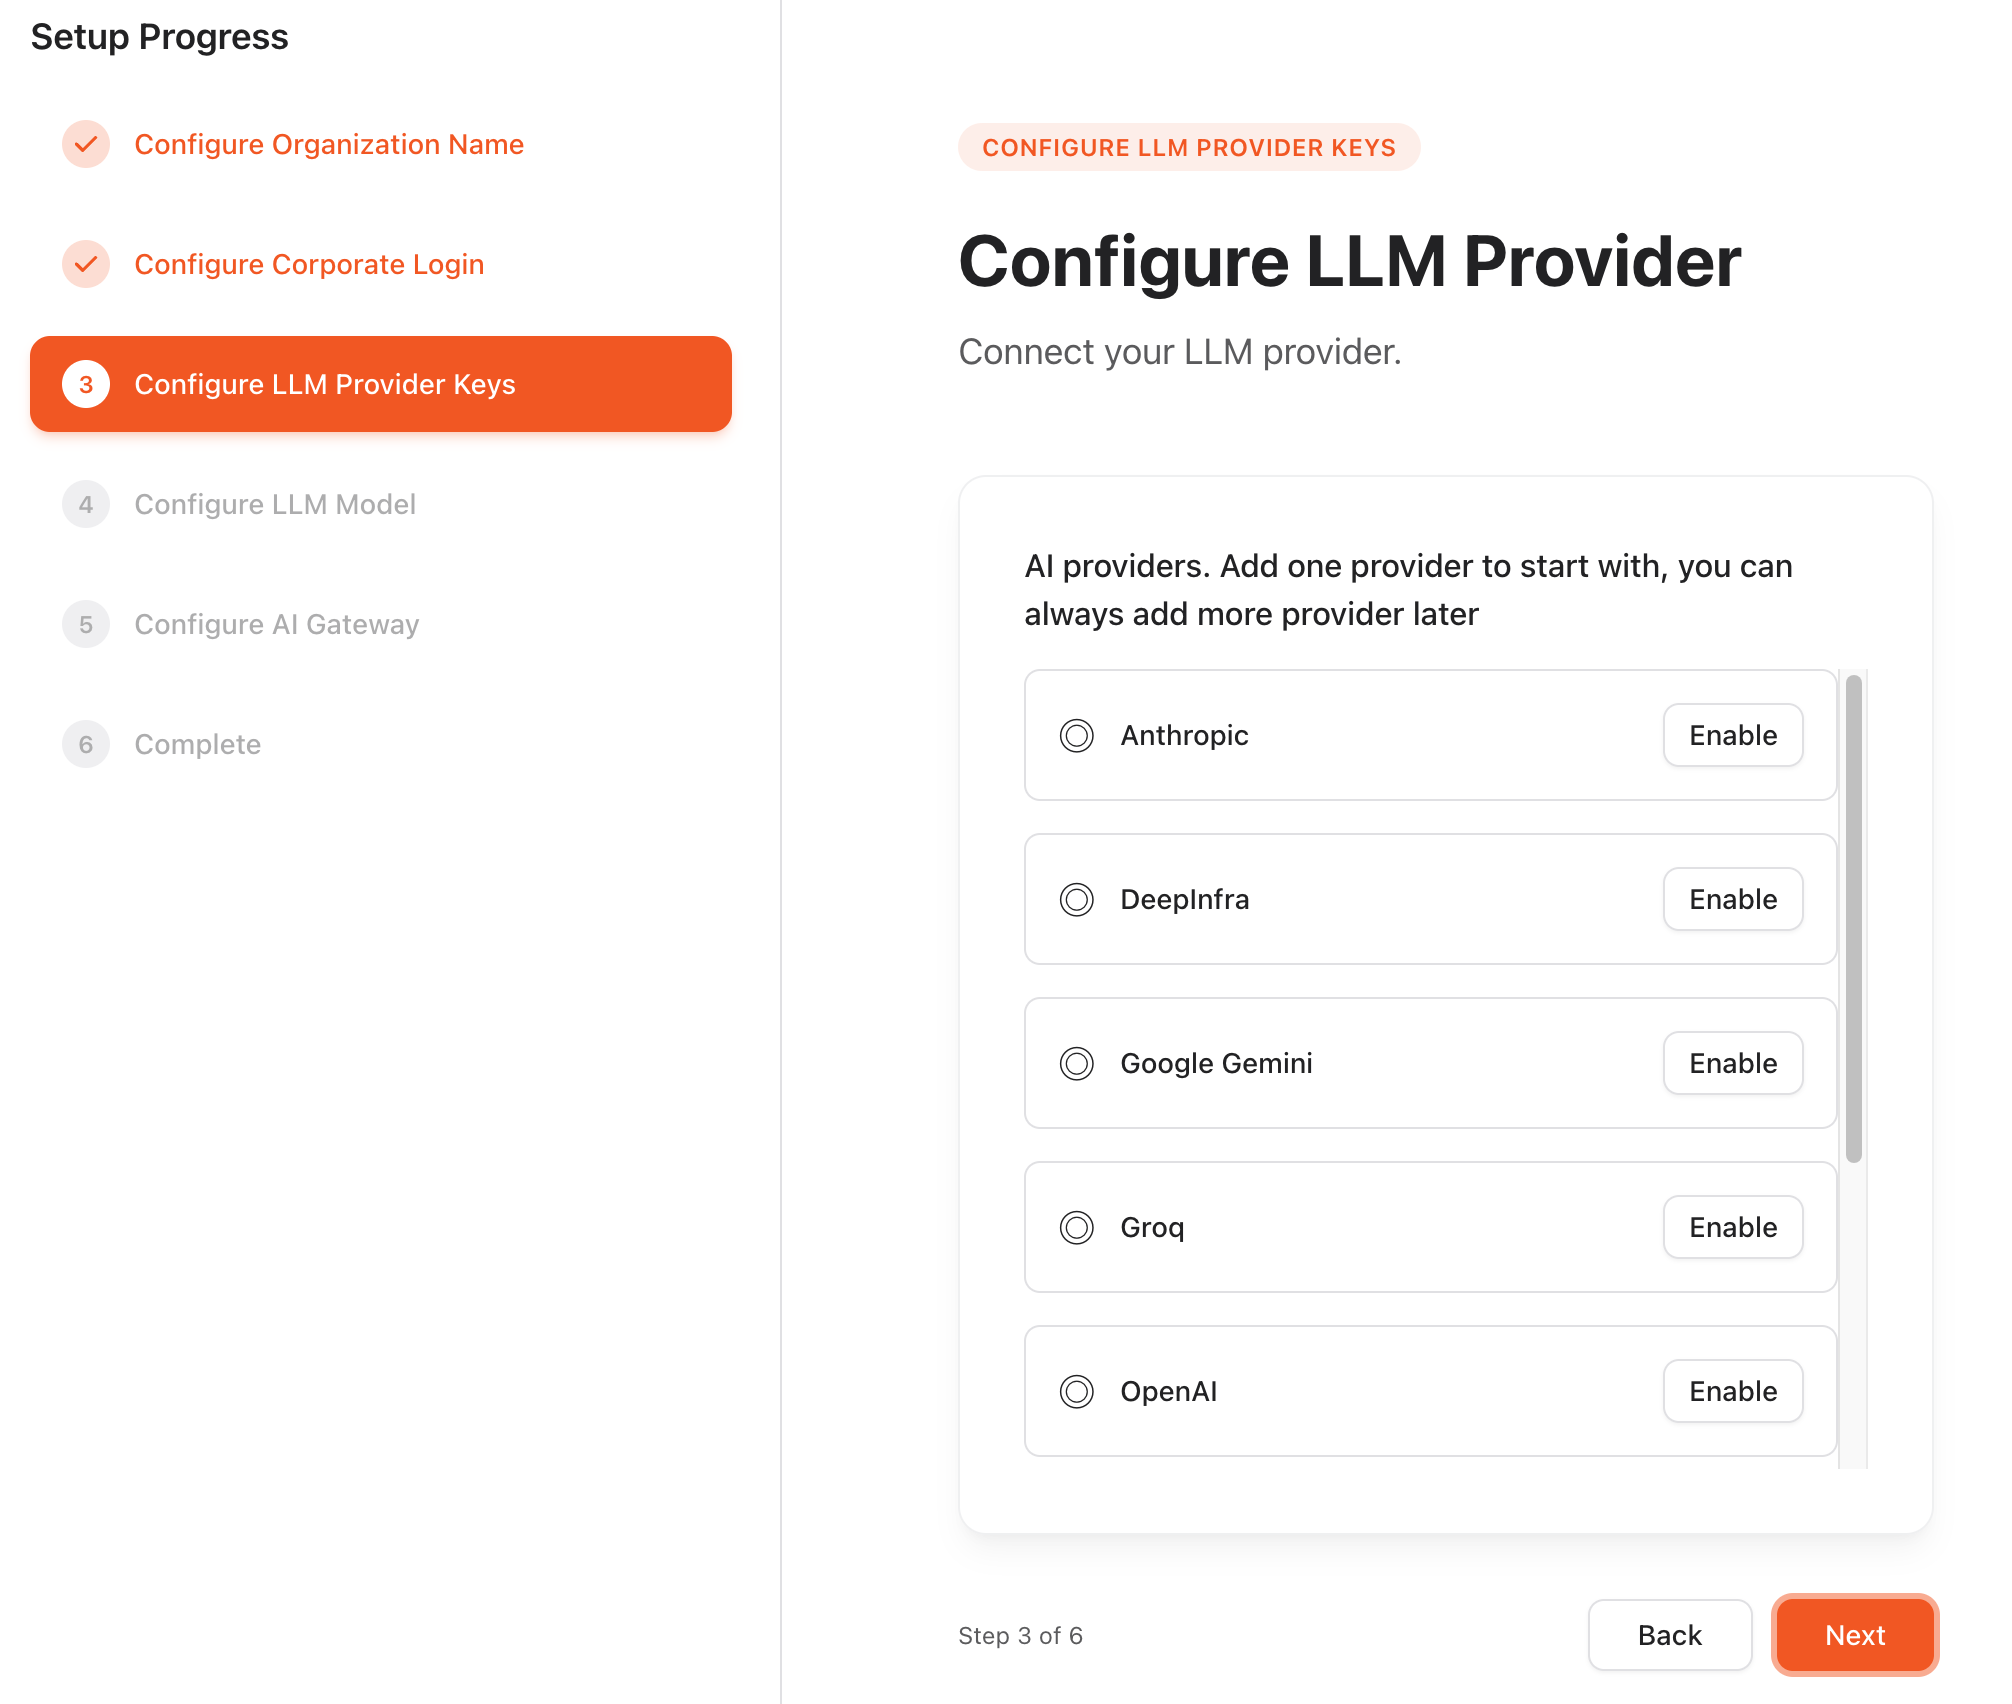
The wizard shows a list of supported providers, and the set varies by deployment; see Provisioning models and providers for the authoritative list. Click Enable next to a provider to open its form, then fill in:
| Field | Required | Description | Sample value |
|---|---|---|---|
| Display Name | No | Optional label shown in tables and filters | OpenAI |
| API Base URL | Yes | Base URL for the provider API. Pre-filled for supported providers. | https://api.openai.com/v1 |
| Auth method | Yes | Authentication method. Pre-filled per provider. | API Key |
| Secret Type | Yes | Password for single-string API keys; Service Account JSON for providers that authenticate with a JSON credential file. | Password |
| Provider Secret | Yes | API key, token, or service-account JSON. Use Rotate in the UI to replace a stored secret without clearing the rest of the form. | sk-proj-... |
| Enable provider | Yes | Off by default. Switch it on before clicking Save. | toggle |
Clicking Enable in the provider list only opens the form; it does not itself enable the provider. Filling in the secret and clicking Save without switching it on saves the provider but leaves it hidden and disabled, and Step 3's "at least one provider" requirement is still not met.
Repeat for each provider to expose. The wizard returns to the provider selection screen after each one is saved.
Step 4: configure LLM models
The wizard shows a single list of all models Agent Router supports, maintained by Tetrate. By default, a selective set of common models is enabled. Deselect models to control cost, meet data-handling requirements, or scope to the intended use case. Models remain configurable later from the Admin Console. If a required model is missing, contact Tetrate support.
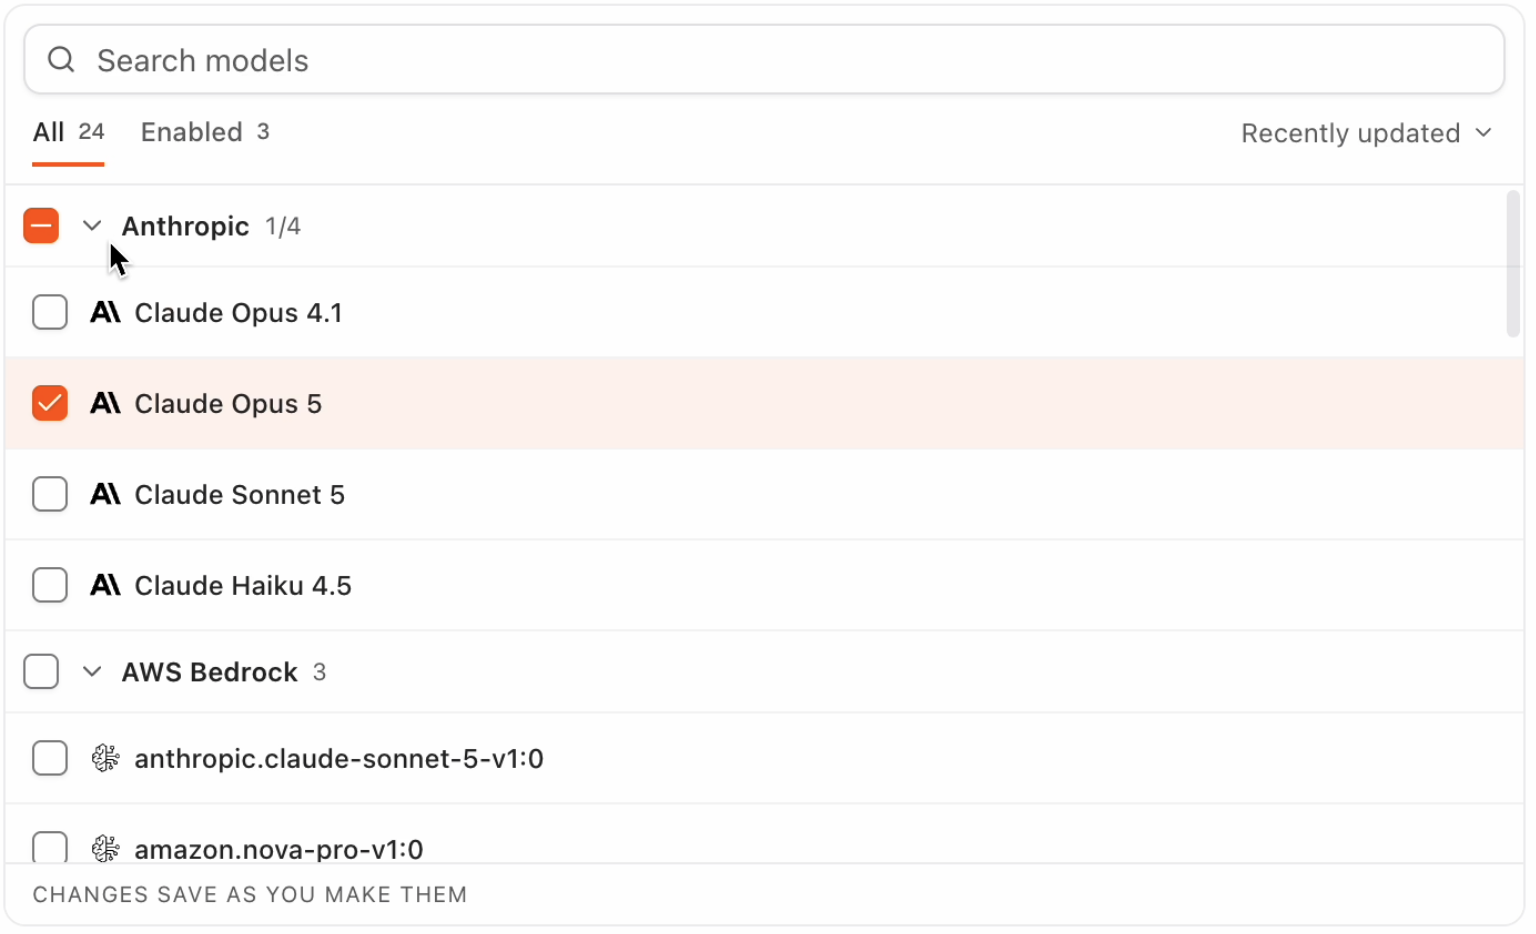
Models selected here are automatically added to the default project. Models added later in the Admin Console are not added automatically to the default project (or any other project); that has to be done manually.
Custom model entries are not configurable in onboarding.
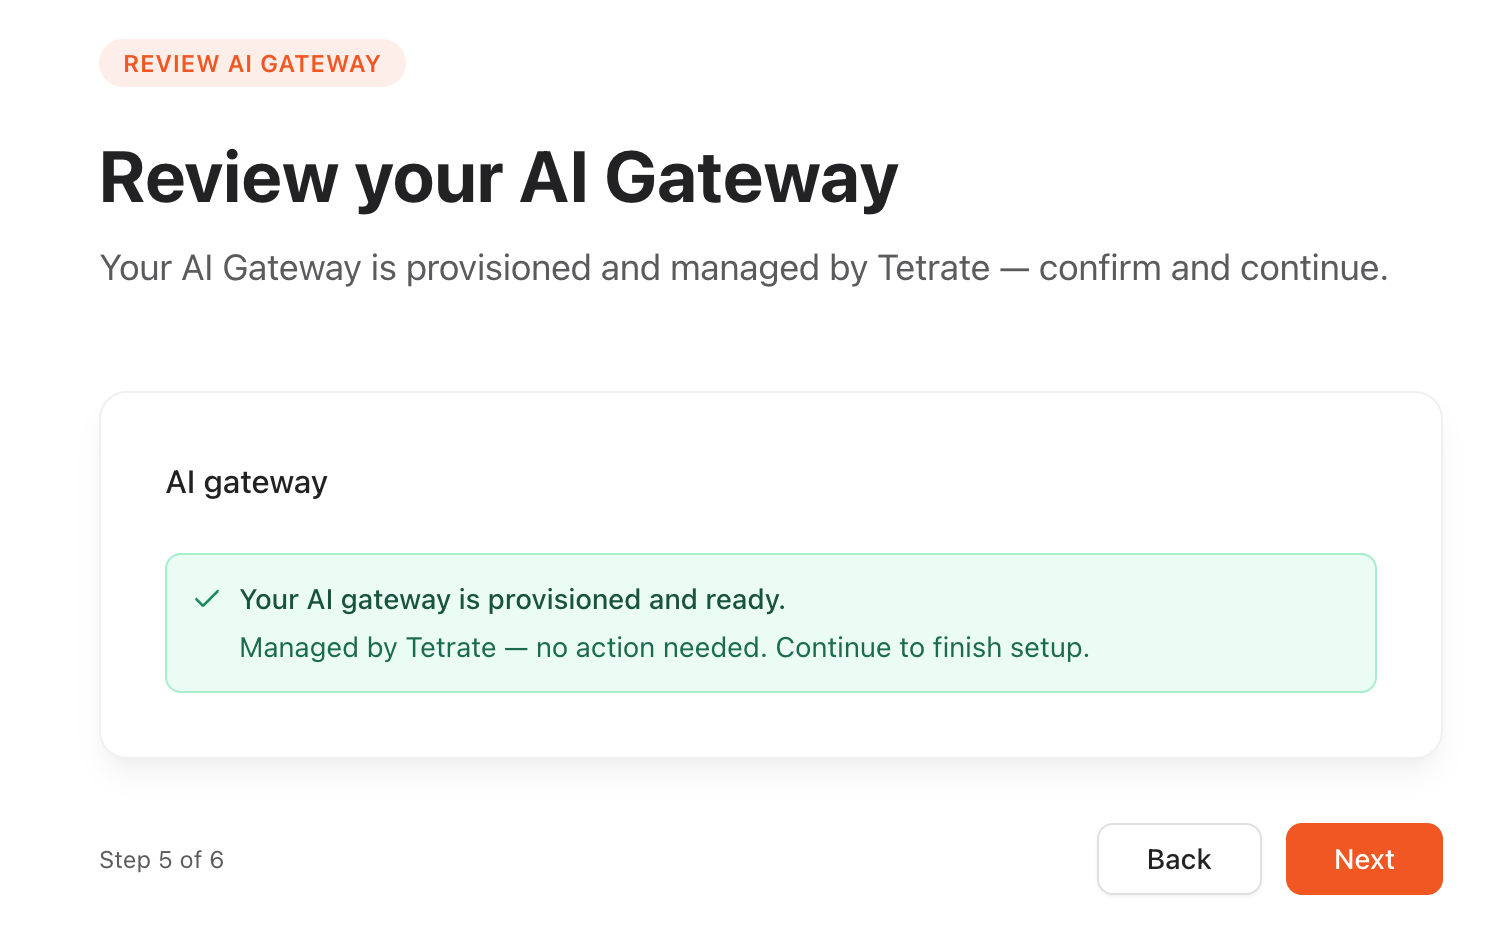
Step 5: review AI Gateway
On Fully Managed, Step 5 has no credential form: Tetrate already provisioned the gateway, so the step only reports its status. On Self-Hosted Data Plane, the same step is Configure AI Gateway and downloads a service-account.json credential used to install a customer-operated data plane. The first column quotes the wizard's own wording:
| Status shown | Meaning | What to do |
|---|---|---|
| Checking your gateway status… | The wizard is querying the gateway for the first time. | Wait a moment. |
| Your AI gateway is provisioned and ready. | Managed by Tetrate, no action needed. | Click Next. |
| Your AI gateway is still being provisioned. | Normal shortly after the tenant is created. The page checks again automatically. | Click Next and continue; check back later if needed. |
| Your AI gateway isn't ready. | Something is wrong on Tetrate's side. | Click Next to continue onboarding, and contact a Tetrate representative. |
| We couldn't check your AI gateway status. | The status check itself failed, likely transient. | Click Next to continue onboarding; contact a Tetrate representative if it persists. |
Next is enabled for every status above, so Step 5 never blocks onboarding on Fully Managed. If the gateway is still provisioning at this step, finish onboarding and check its status again later from the default project's Data Planes tab in the Admin Console (see Before the first request below).
Complete the process
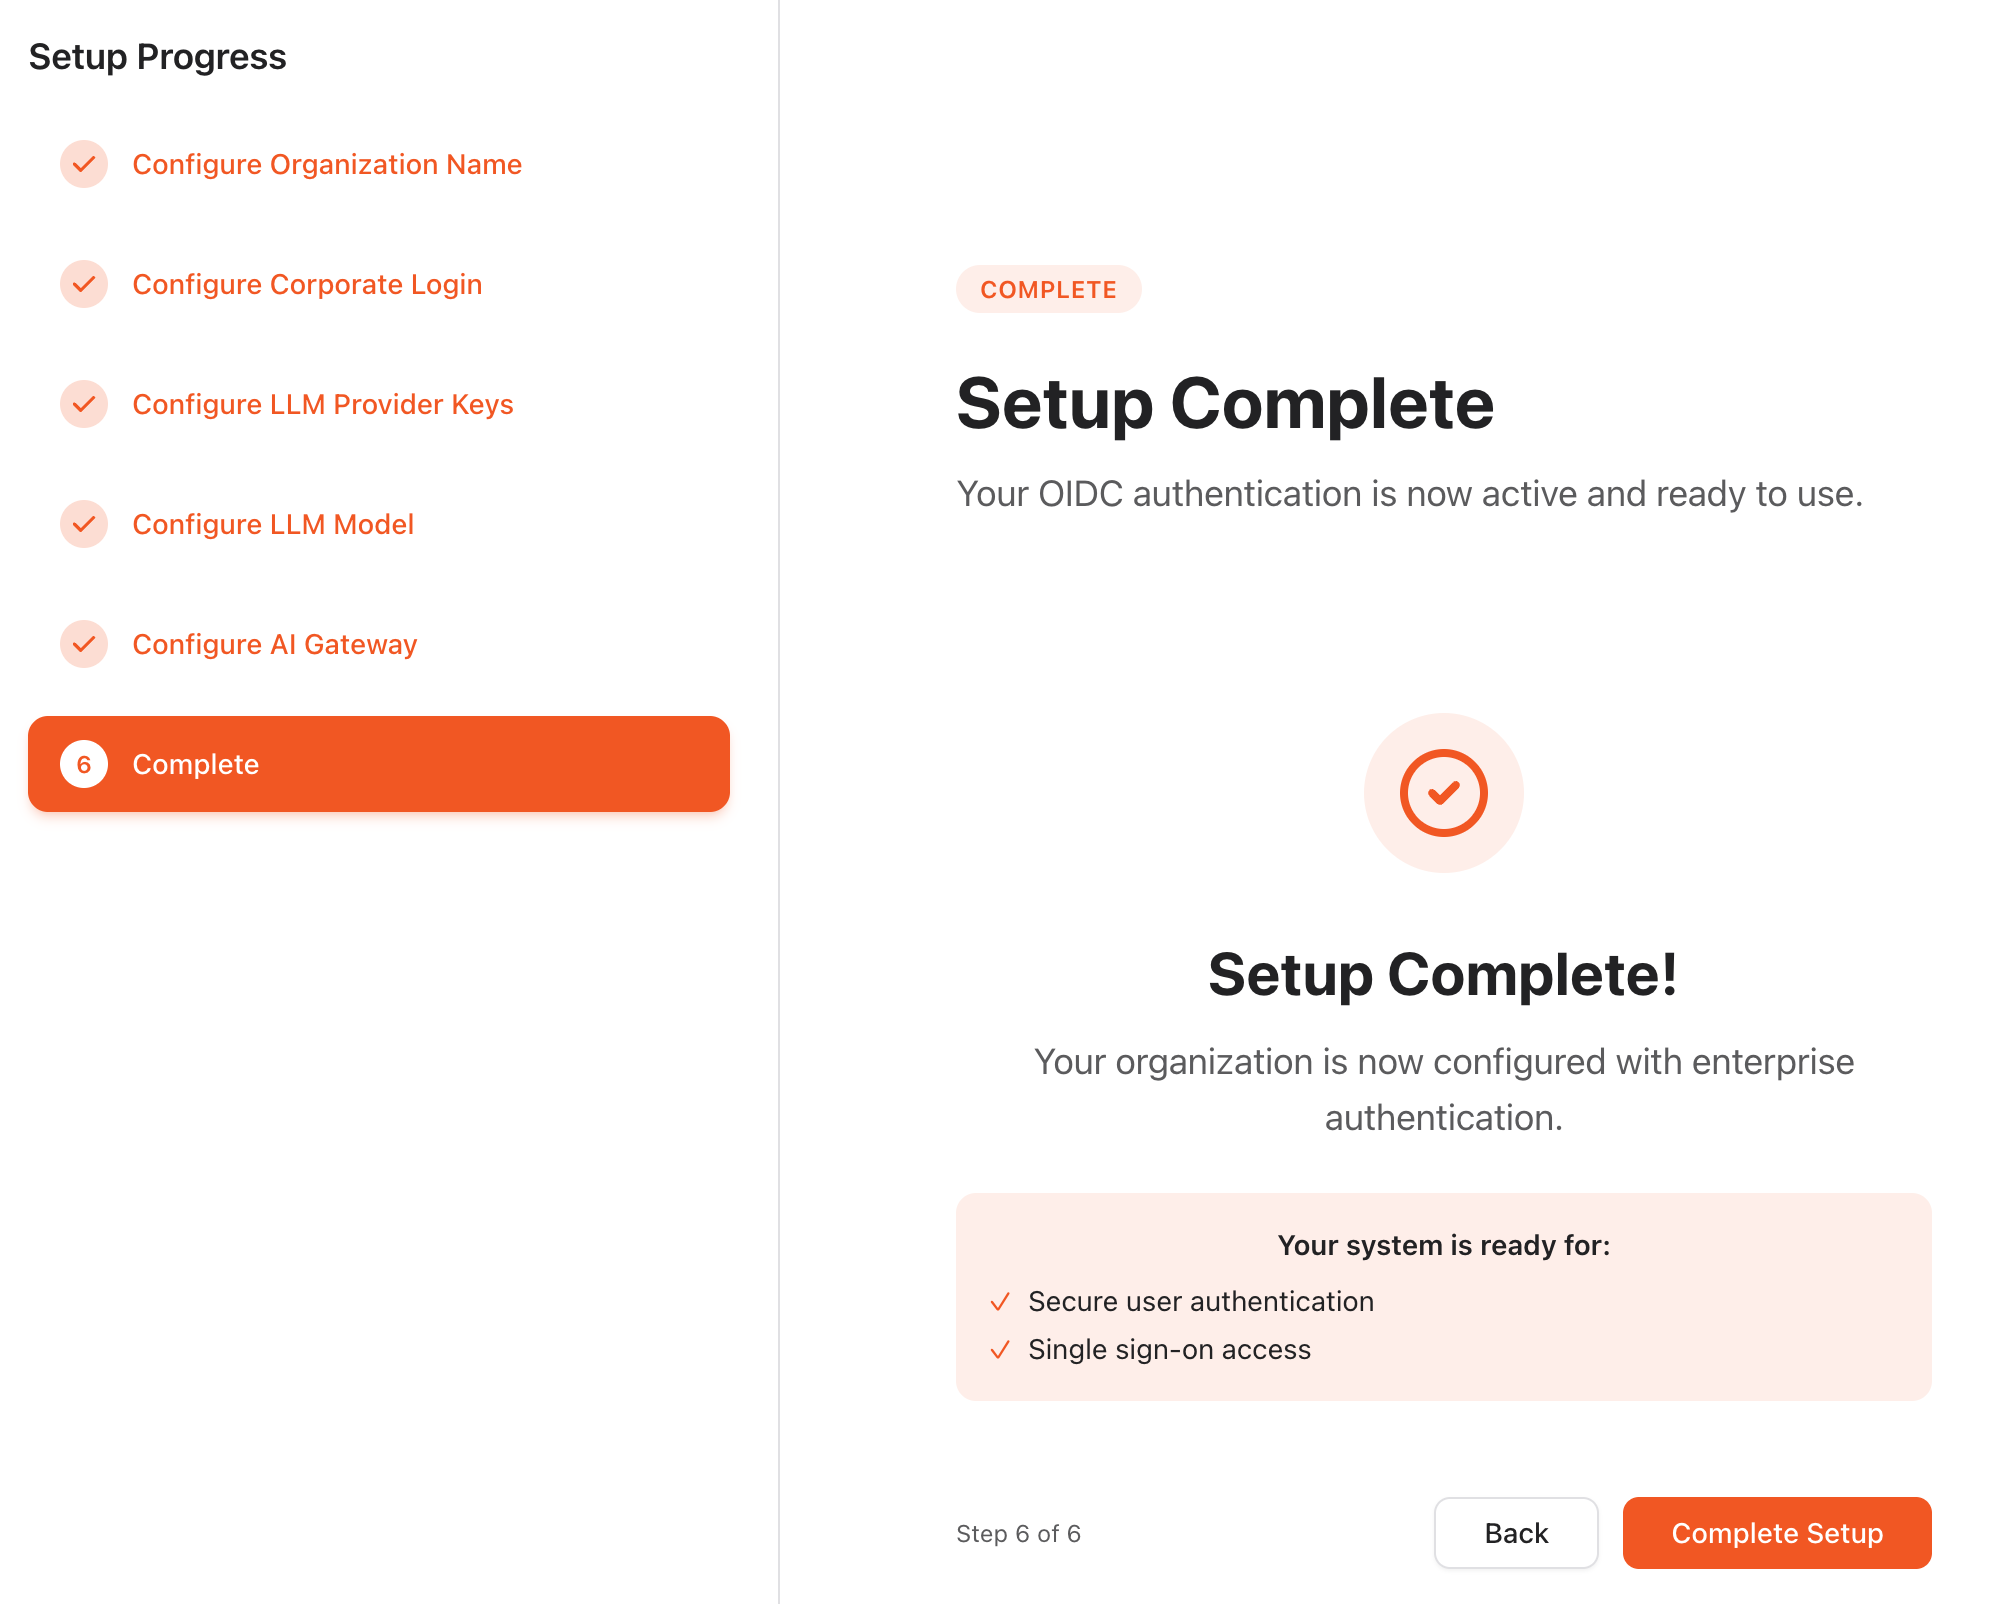
After Steps 1 to 4, and reviewing Step 5, click Complete setup to finish onboarding.
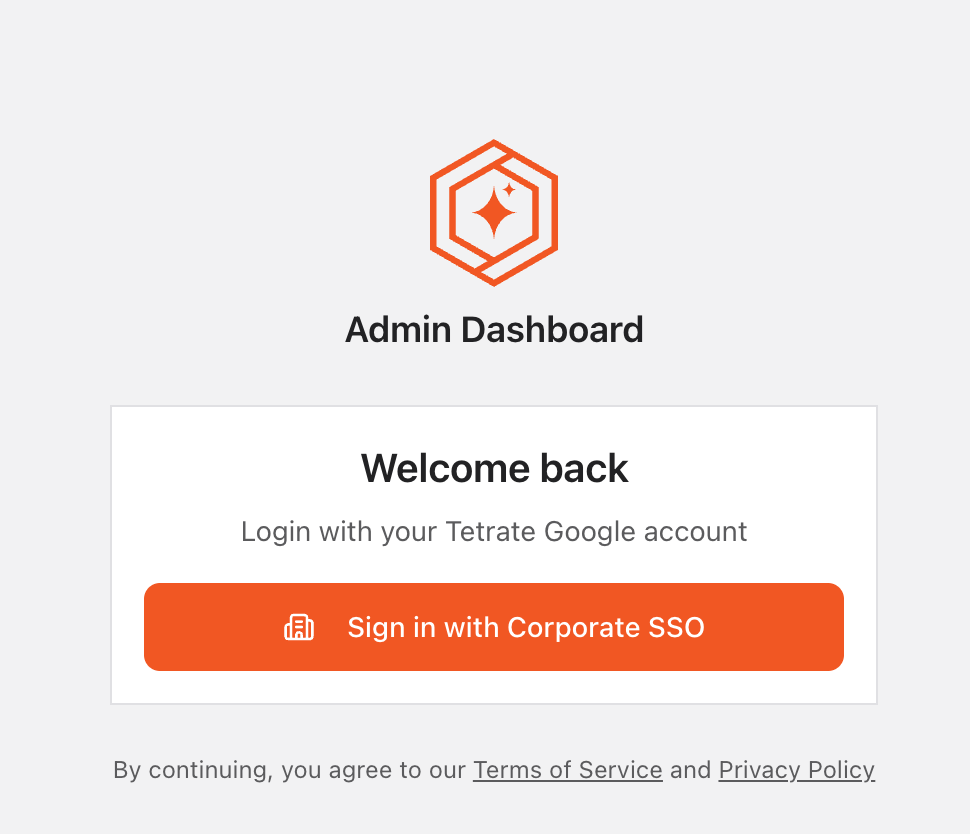
The Admin Console can now be accessed by signing in with SSO.
The account that completed the wizard holds the Super Admin role, which carries full access to every resource and setting. Super Admin can be granted to further users from Directory → Access at any time. Grant it to at least one colleague early: a lone holder leaves no route back into administration if that account is lost. The grant, edit, and revoke flow is covered in Manage roles and permissions.
Before the first request
Onboarding sets up the default project automatically: by the time Complete setup finishes, the managed data plane is labeled with the project, and the providers connected in Step 3 and the models selected in Step 4 are already in place. Project membership comes from Step 2's Admin emails field.
Once project access is in place, continue in the Developer Console:
- In the Console, create an Inference key for gateway requests. Do not use an Admin Console organization/API key for inference traffic.
- The Base URL shown alongside the key is the address of the managed data plane serving the project, already set, with nothing to configure.
If something looks wrong, for example an expected provider is not listed, the default project's Data Planes, Users, Providers, and project-scoped Models pages in the Admin Console show its current state.