Self-Hosted onboarding
Onboard a Self-Hosted Data Plane deployment through a one-time Admin Dashboard wizard. Complete all five steps: the final step downloads the credential used to install the data plane. SSO (Step 2) can be deferred until after the gateway is running, but must be in place before opening the Console to developers.
The onboarding wizard
The wizard launches automatically on the first sign-in to the Admin Dashboard; there is no separate onboarding URL. Each step has Next and Previous controls. Next is enabled once the current step's required fields are filled; Previous returns to any earlier step to review or change a value.
Step 1
Organization Name
Identify the tenant and set the data-plane URL.
Step 2
Corporate Login
Configure SSO over OpenID Connect (OIDC). Can be deferred until after the gateway is running.
Step 3
LLM Providers
Connect providers such as OpenAI and Anthropic.
Step 4
LLM Models
Choose which models are exposed.
Step 5
Service Account
Download the service-account.json credential the data plane needs.
Onboarding produces a configured management plane and a service-account.json file used as input to the data plane installation. Plan for 15 to 30 minutes, plus any back-and-forth with the identity provider (IdP) team if SSO is configured now.
Prerequisites
Have the following on hand before launching the wizard:
- Access to the Admin Dashboard. Tetrate provides the URL during provisioning.
- Initial admin credentials for the first sign-in.
- API credentials for at least one LLM provider, for example an OpenAI API key.
- A planned hostname for the data plane, for example
proxy.example.com. This becomes the Proxy URL in Step 1 and the--serve-urlvalue passed totare installlater. - OIDC IdP details (issuer URL, client ID, client secret, scopes) if SSO is configured now. Agent Router supports OIDC only. SSO can also be deferred; see SSO configuration.
Get started
The wizard appears automatically when the Admin Dashboard URL is first visited.
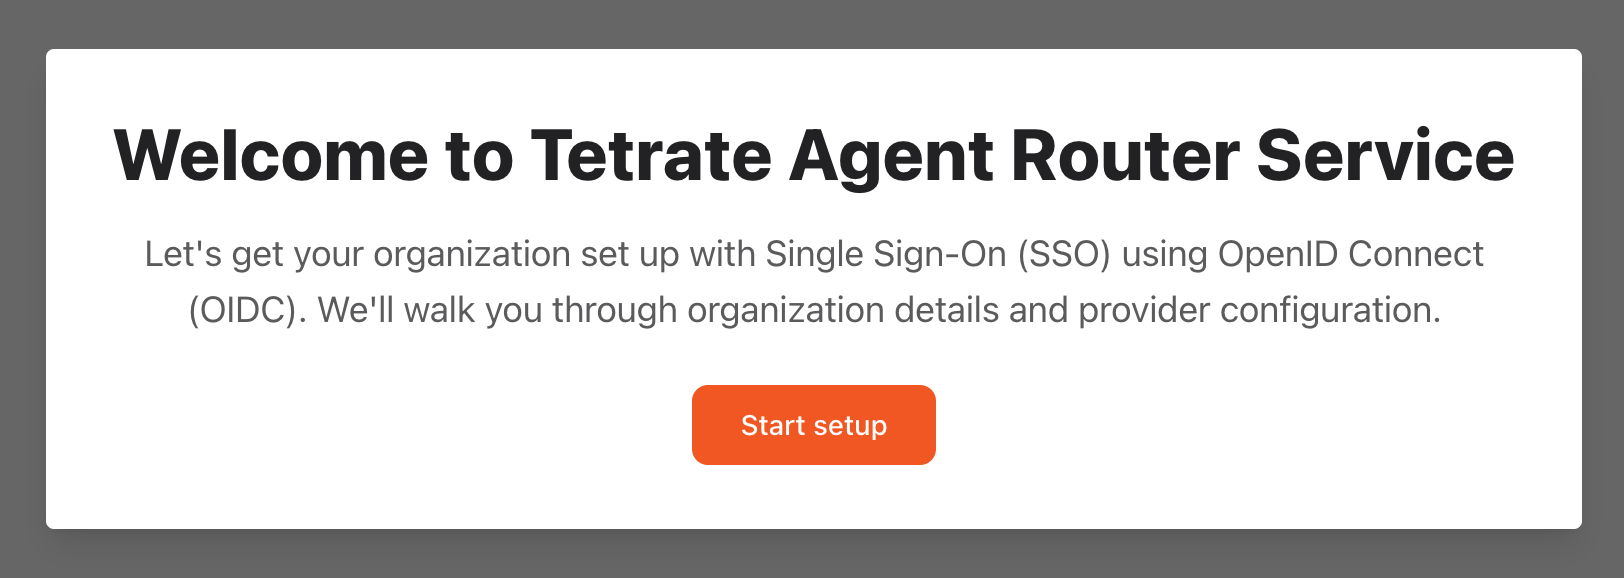
Click Start setup to begin.
Step 1: configure organization name
Fill in:
| Field | Required | Description | Sample value |
|---|---|---|---|
| Organization Name | Yes | The organization's display name | Acme Corp. |
| Proxy URL | Yes | The public URL where the data plane is reachable. The same value is passed to tare install --serve-url later. Always include the scheme. | https://proxy.example.com |
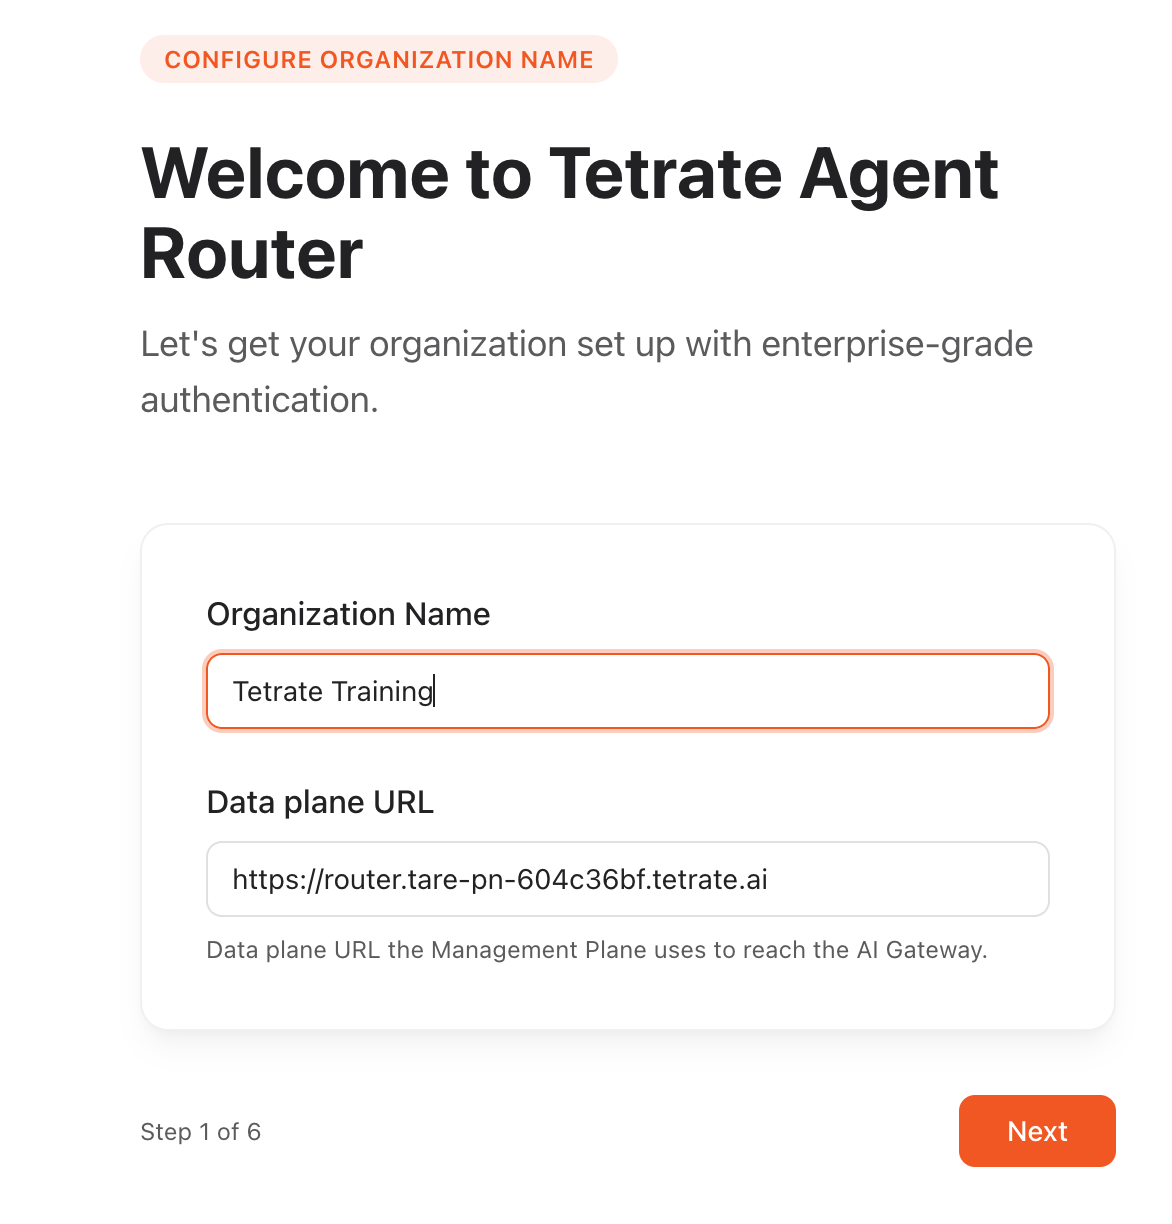
The data plane does not need to exist yet. Onboarding only stores the value; the cluster, ingress, and DNS come later during install.
Step 2: configure corporate login (single sign-on)
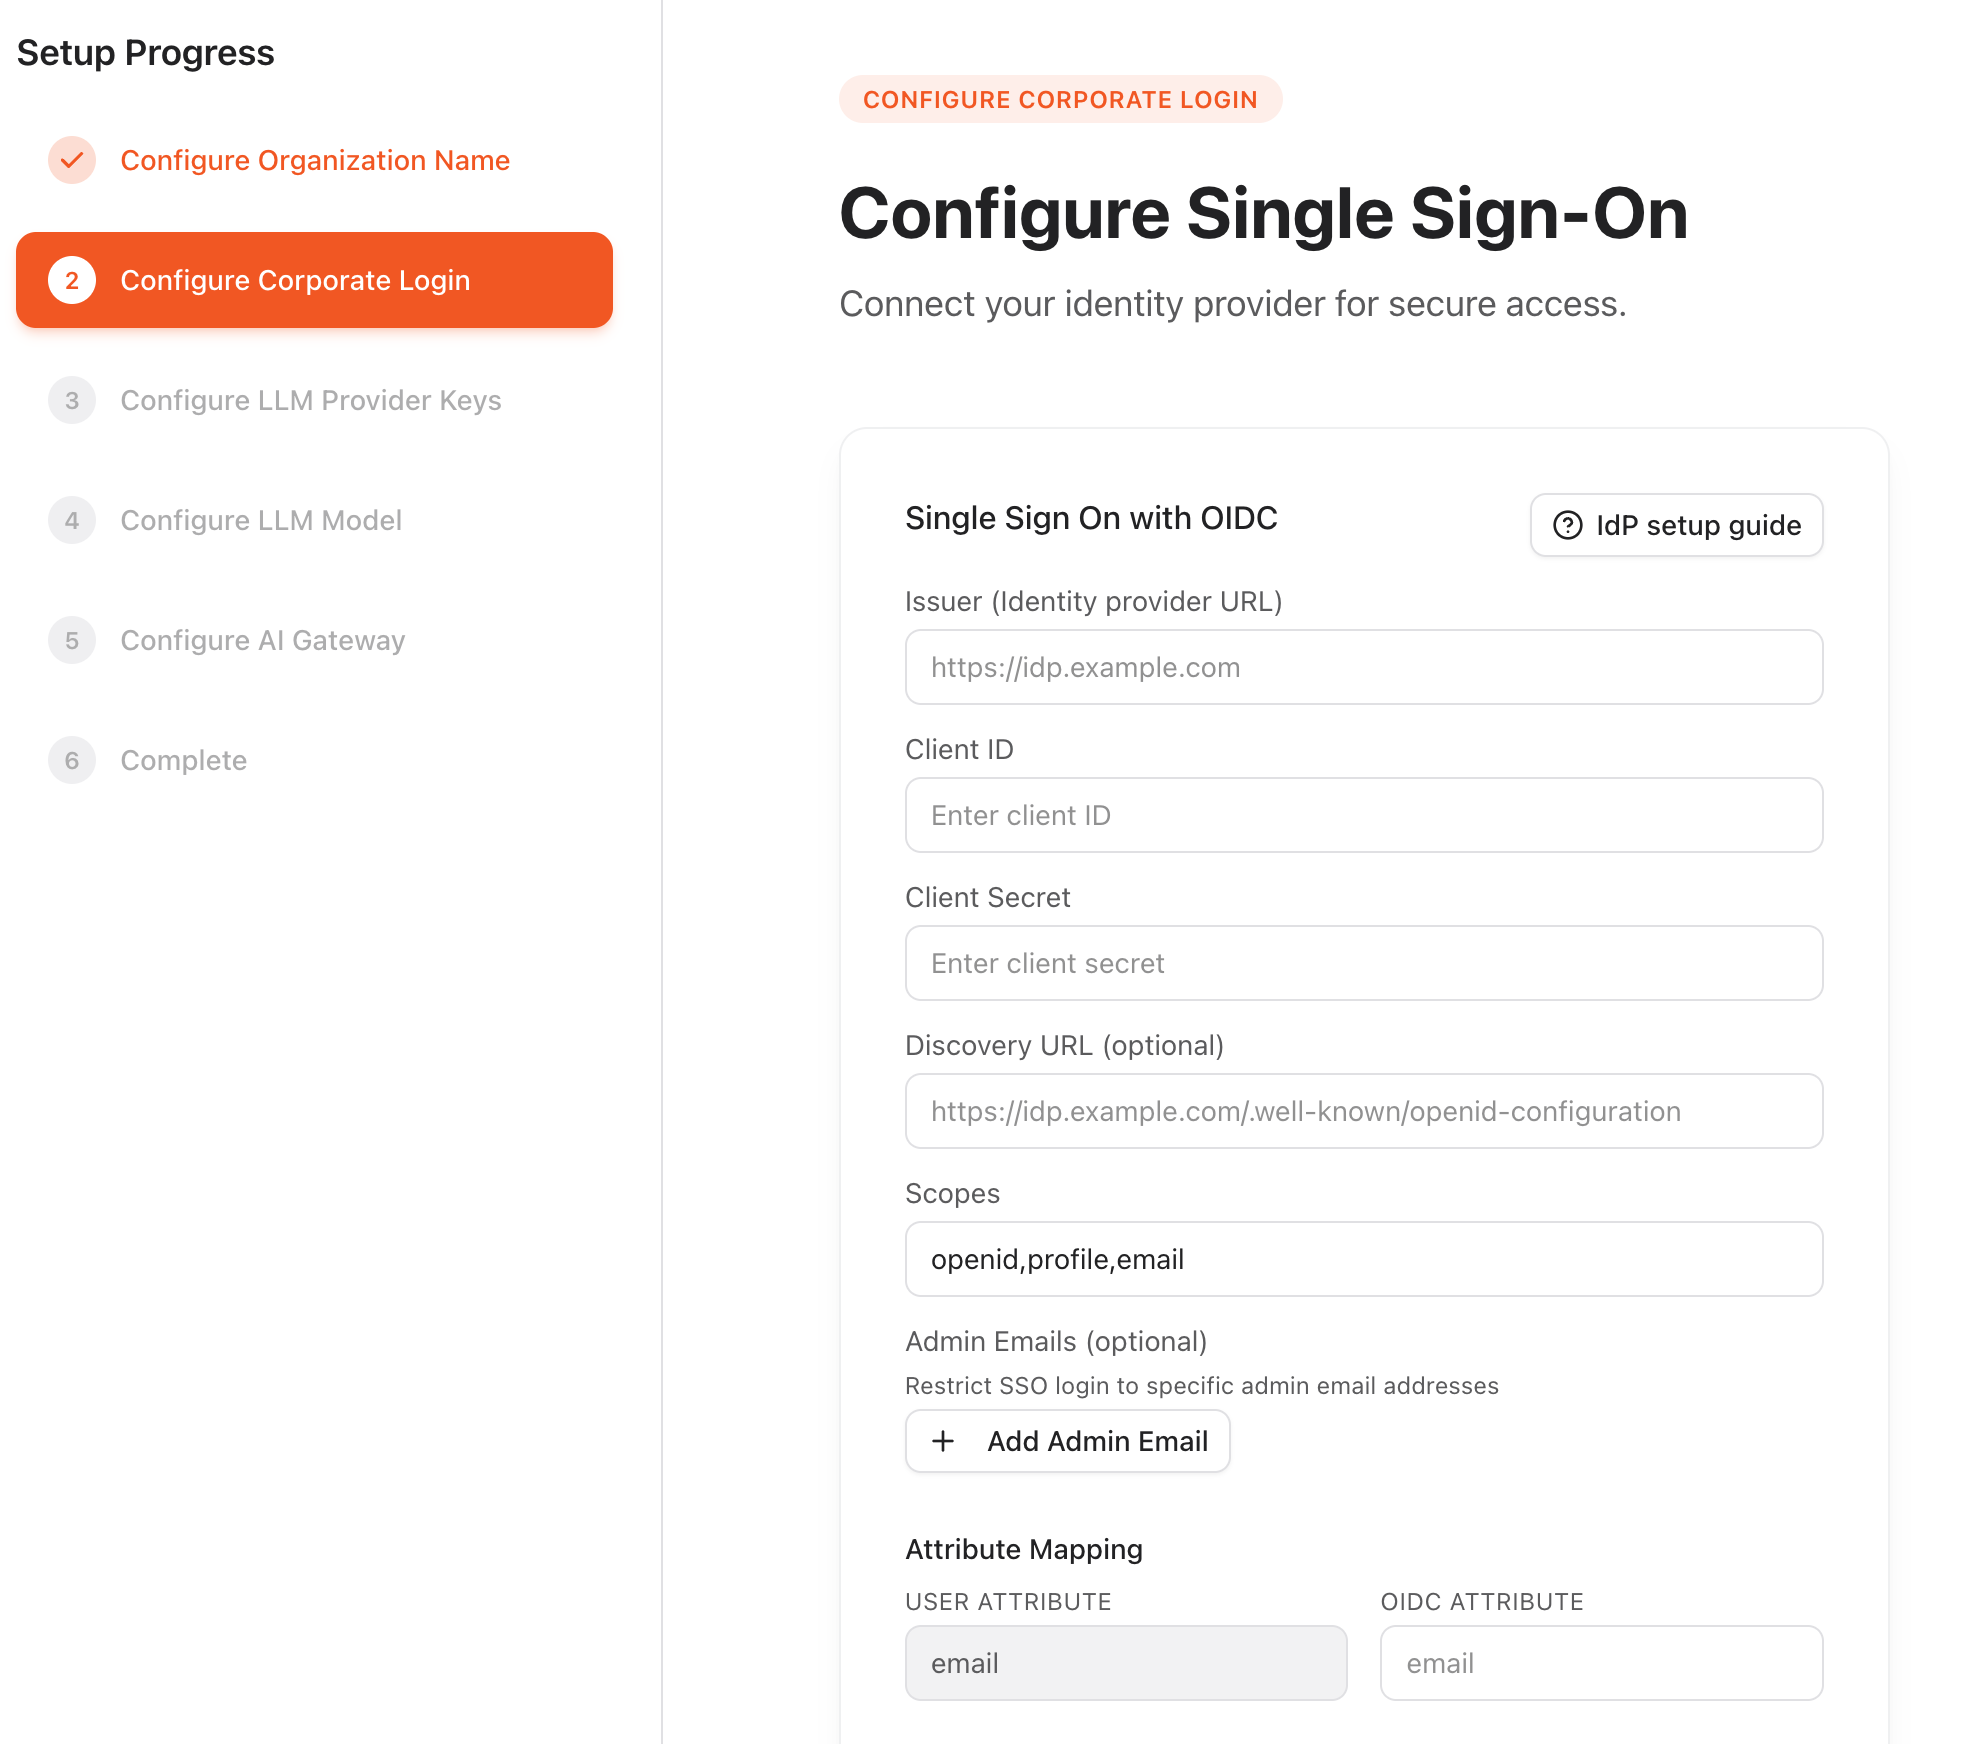
For a Self-Hosted Data Plane install, configure SSO here or defer it until after the data plane and gateway are running. Developers need SSO before using the Console, so complete it before developer handoff. See the SSO configuration guide.
Agent Router supports OIDC only. SAML, LDAP, and other protocols are not supported.
If configuring SSO now, the wizard displays the OIDC redirect URI for the deployment, following the pattern:
https://dashboard.<your-mp-host>/login
Register Agent Router as an OIDC application in the IdP using that exact URI, then fill in:
| Field | Required | Description | Sample value |
|---|---|---|---|
| Issuer (IdP URL) | Yes | OIDC issuer URL exposed by the IdP | https://login.example.com/ |
| Client ID | Yes | OAuth client ID created for Agent Router | agent-router |
| Client Secret | Yes | OAuth client secret paired with the Client ID | •••••••• |
| Discovery URL | No | OIDC discovery document URL. If omitted, Agent Router constructs it as <Issuer URL>/.well-known/openid-configuration. | https://login.example.com/.well-known/openid-configuration |
| Scopes | Yes | OAuth scopes to request | openid profile email |
| Admin email | Yes | At least one user granted admin rights after the first SSO login | [email protected] |
| Attribute mapping | Yes | Maps an IdP claim to the Agent Router user's email. The typical value is email. | email |
Step 3: configure LLM provider(s)
Connect Agent Router to one or more LLM providers. At least one provider is required to route traffic.
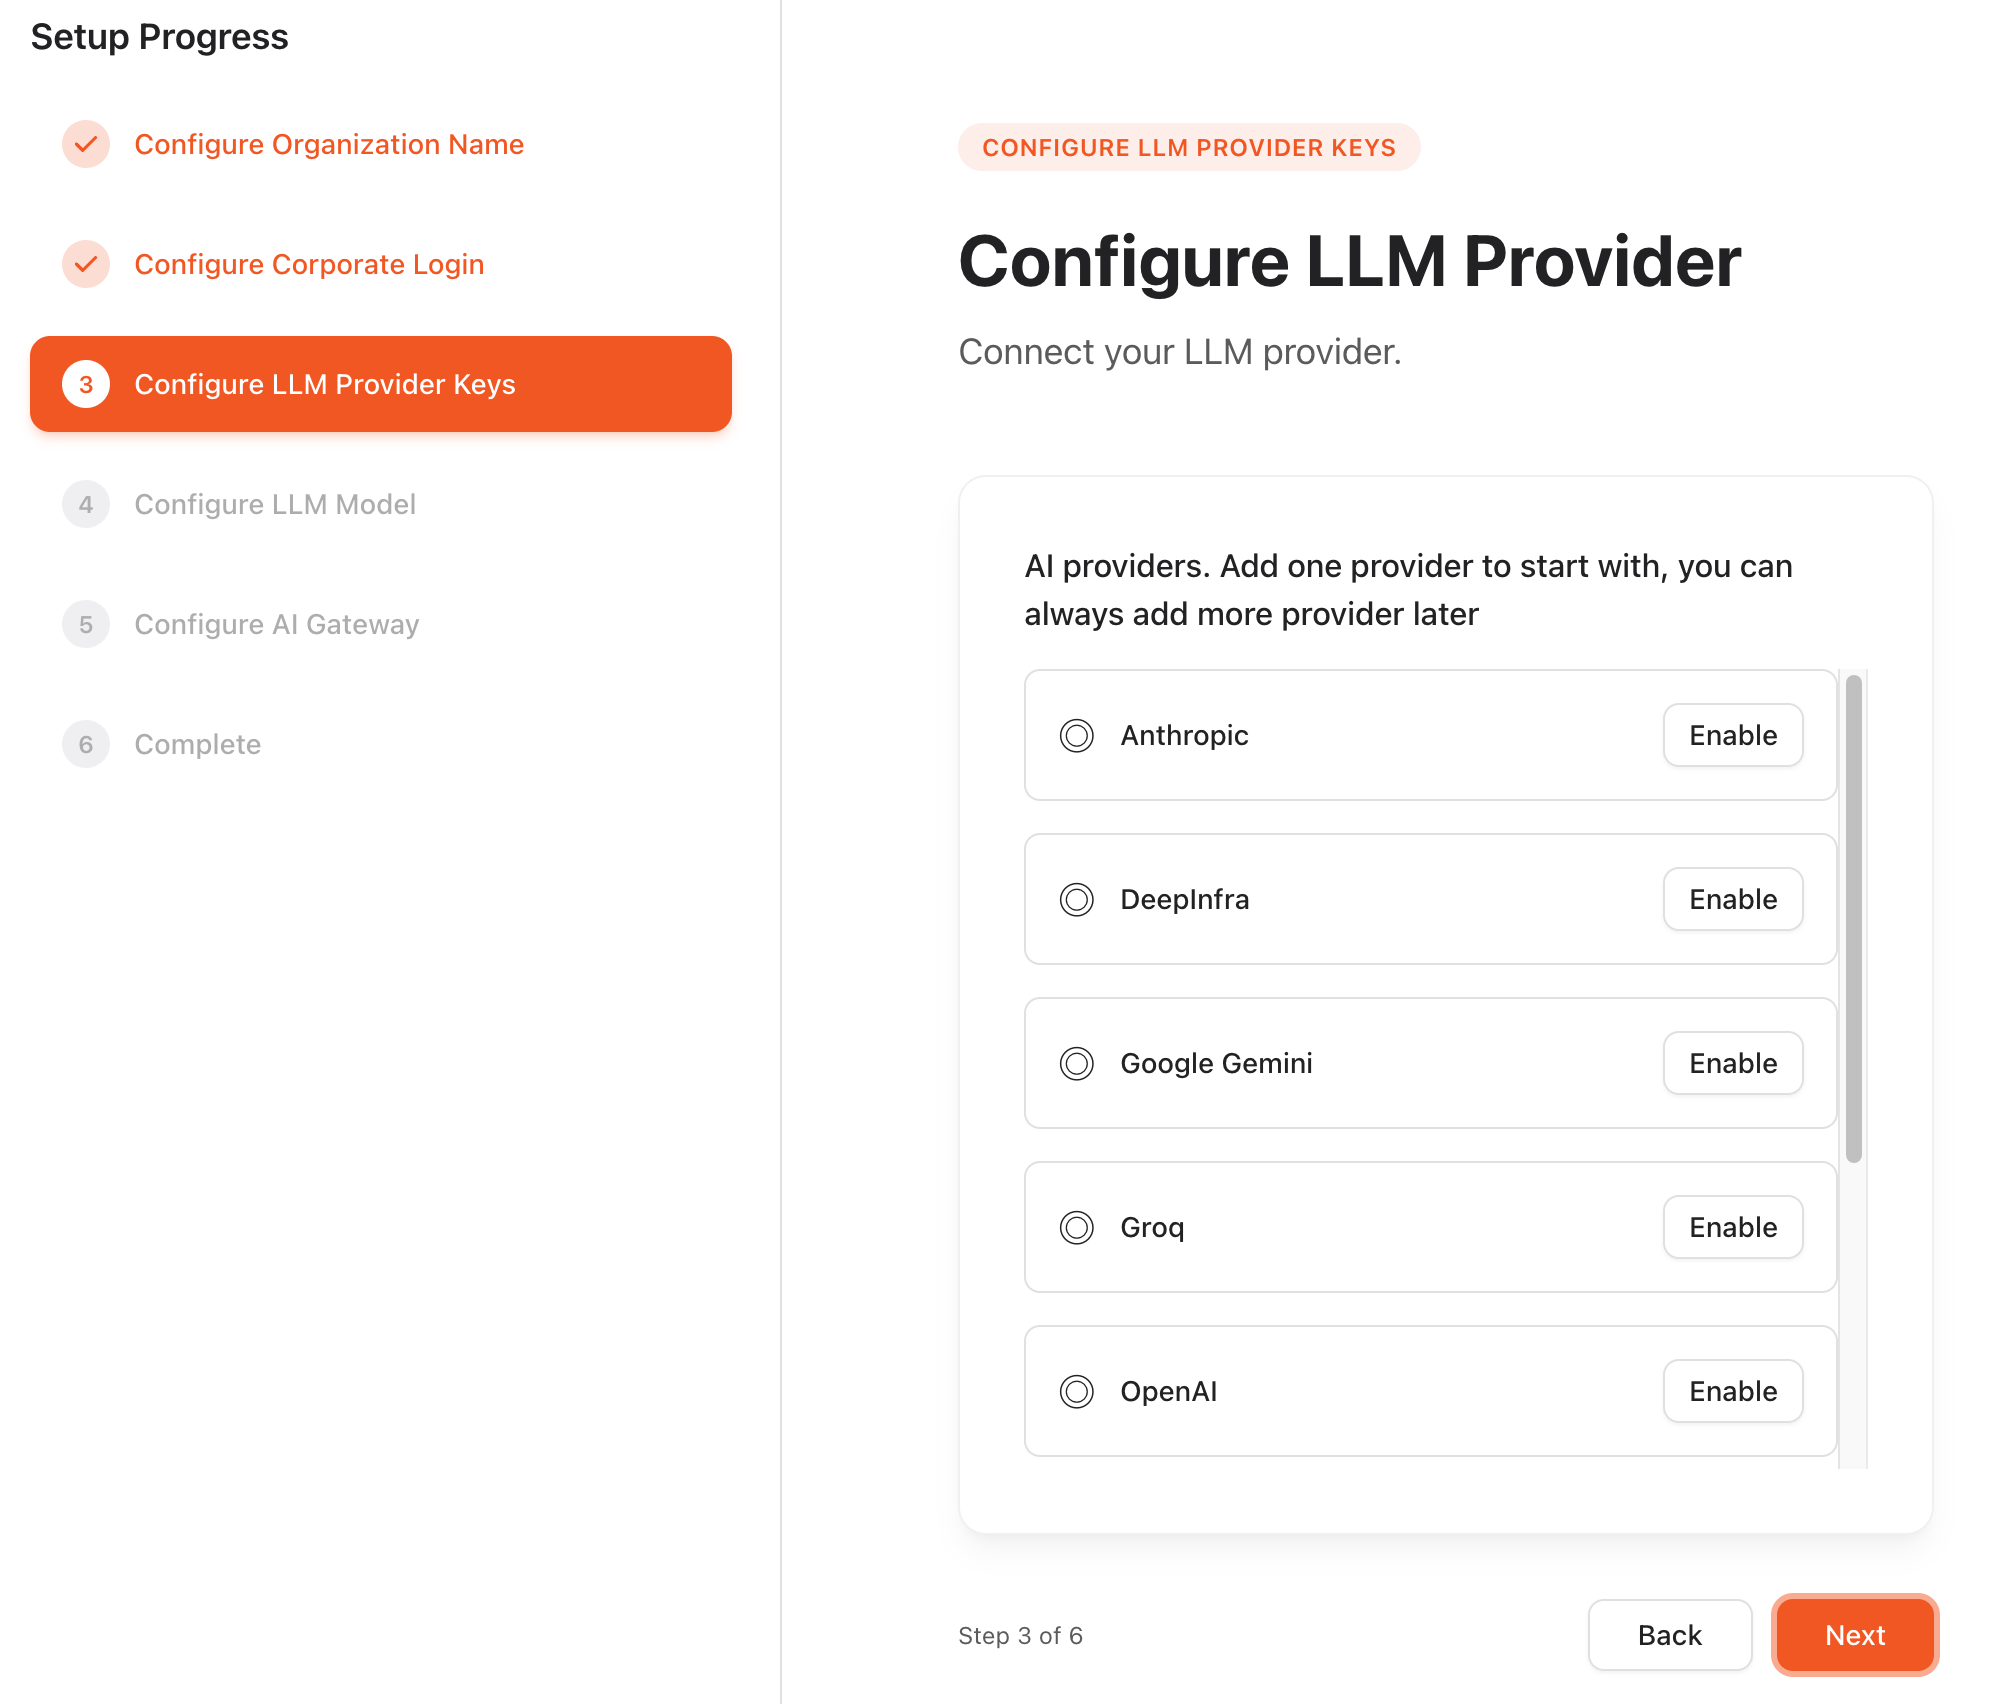
The wizard shows a radio button for each supported provider, including OpenAI, Anthropic, Google, Azure OpenAI, Mistral, Cohere, Together, and Perplexity. See Provisioning models and providers for the authoritative list. Select a provider, click Configure, then fill in:
| Field | Required | Description | Sample value |
|---|---|---|---|
| Display Name | No | Optional label shown in tables and filters | OpenAI |
| API Base URL | Yes | Base URL for the provider API. Pre-filled for supported providers. | https://api.openai.com/v1 |
| Auth method | Yes | Authentication method. Pre-filled per provider. | API Key |
| Secret Type | Yes | Password for single-string API keys; Service Account JSON for providers that authenticate with a JSON credential file. | Password |
| Provider Secret | Yes | API key, token, or service-account JSON | sk-proj-... |
| Enable provider | Yes | Defaults to on. Disable to keep the provider hidden until it is ready. | toggle |
Repeat for each provider to expose.
Step 4: configure LLM models
The wizard shows a single list of all models Agent Router supports, maintained by Tetrate. By default, all models are selected. Deselect models to control cost, meet data-handling requirements, or scope to the intended use case. If a required model is missing, contact Tetrate support.
Step 5: generate service account credentials
This final step generates the credentials the data plane uses to authenticate to the management plane.
Click Create Service Account. A service-account.json file downloads. The credential is valid immediately and can be used to run tare install as soon as it lands.
The download is one-shot. If the browser blocks it or the file is lost, the same credential cannot be downloaded again; regenerate it instead (see below).
Treat service-account.json as a long-lived secret. Store it in a secret manager; do not commit it to source control.
Regenerate the service account file
If the file is lost, regenerate it from the Dashboard:
- Sign in to the Dashboard.
- Go to System | Settings.
- Open the Licenses tab.
- Click + Generate New License.
A new service-account.json file downloads. Older files remain valid until revoked.
Complete the process
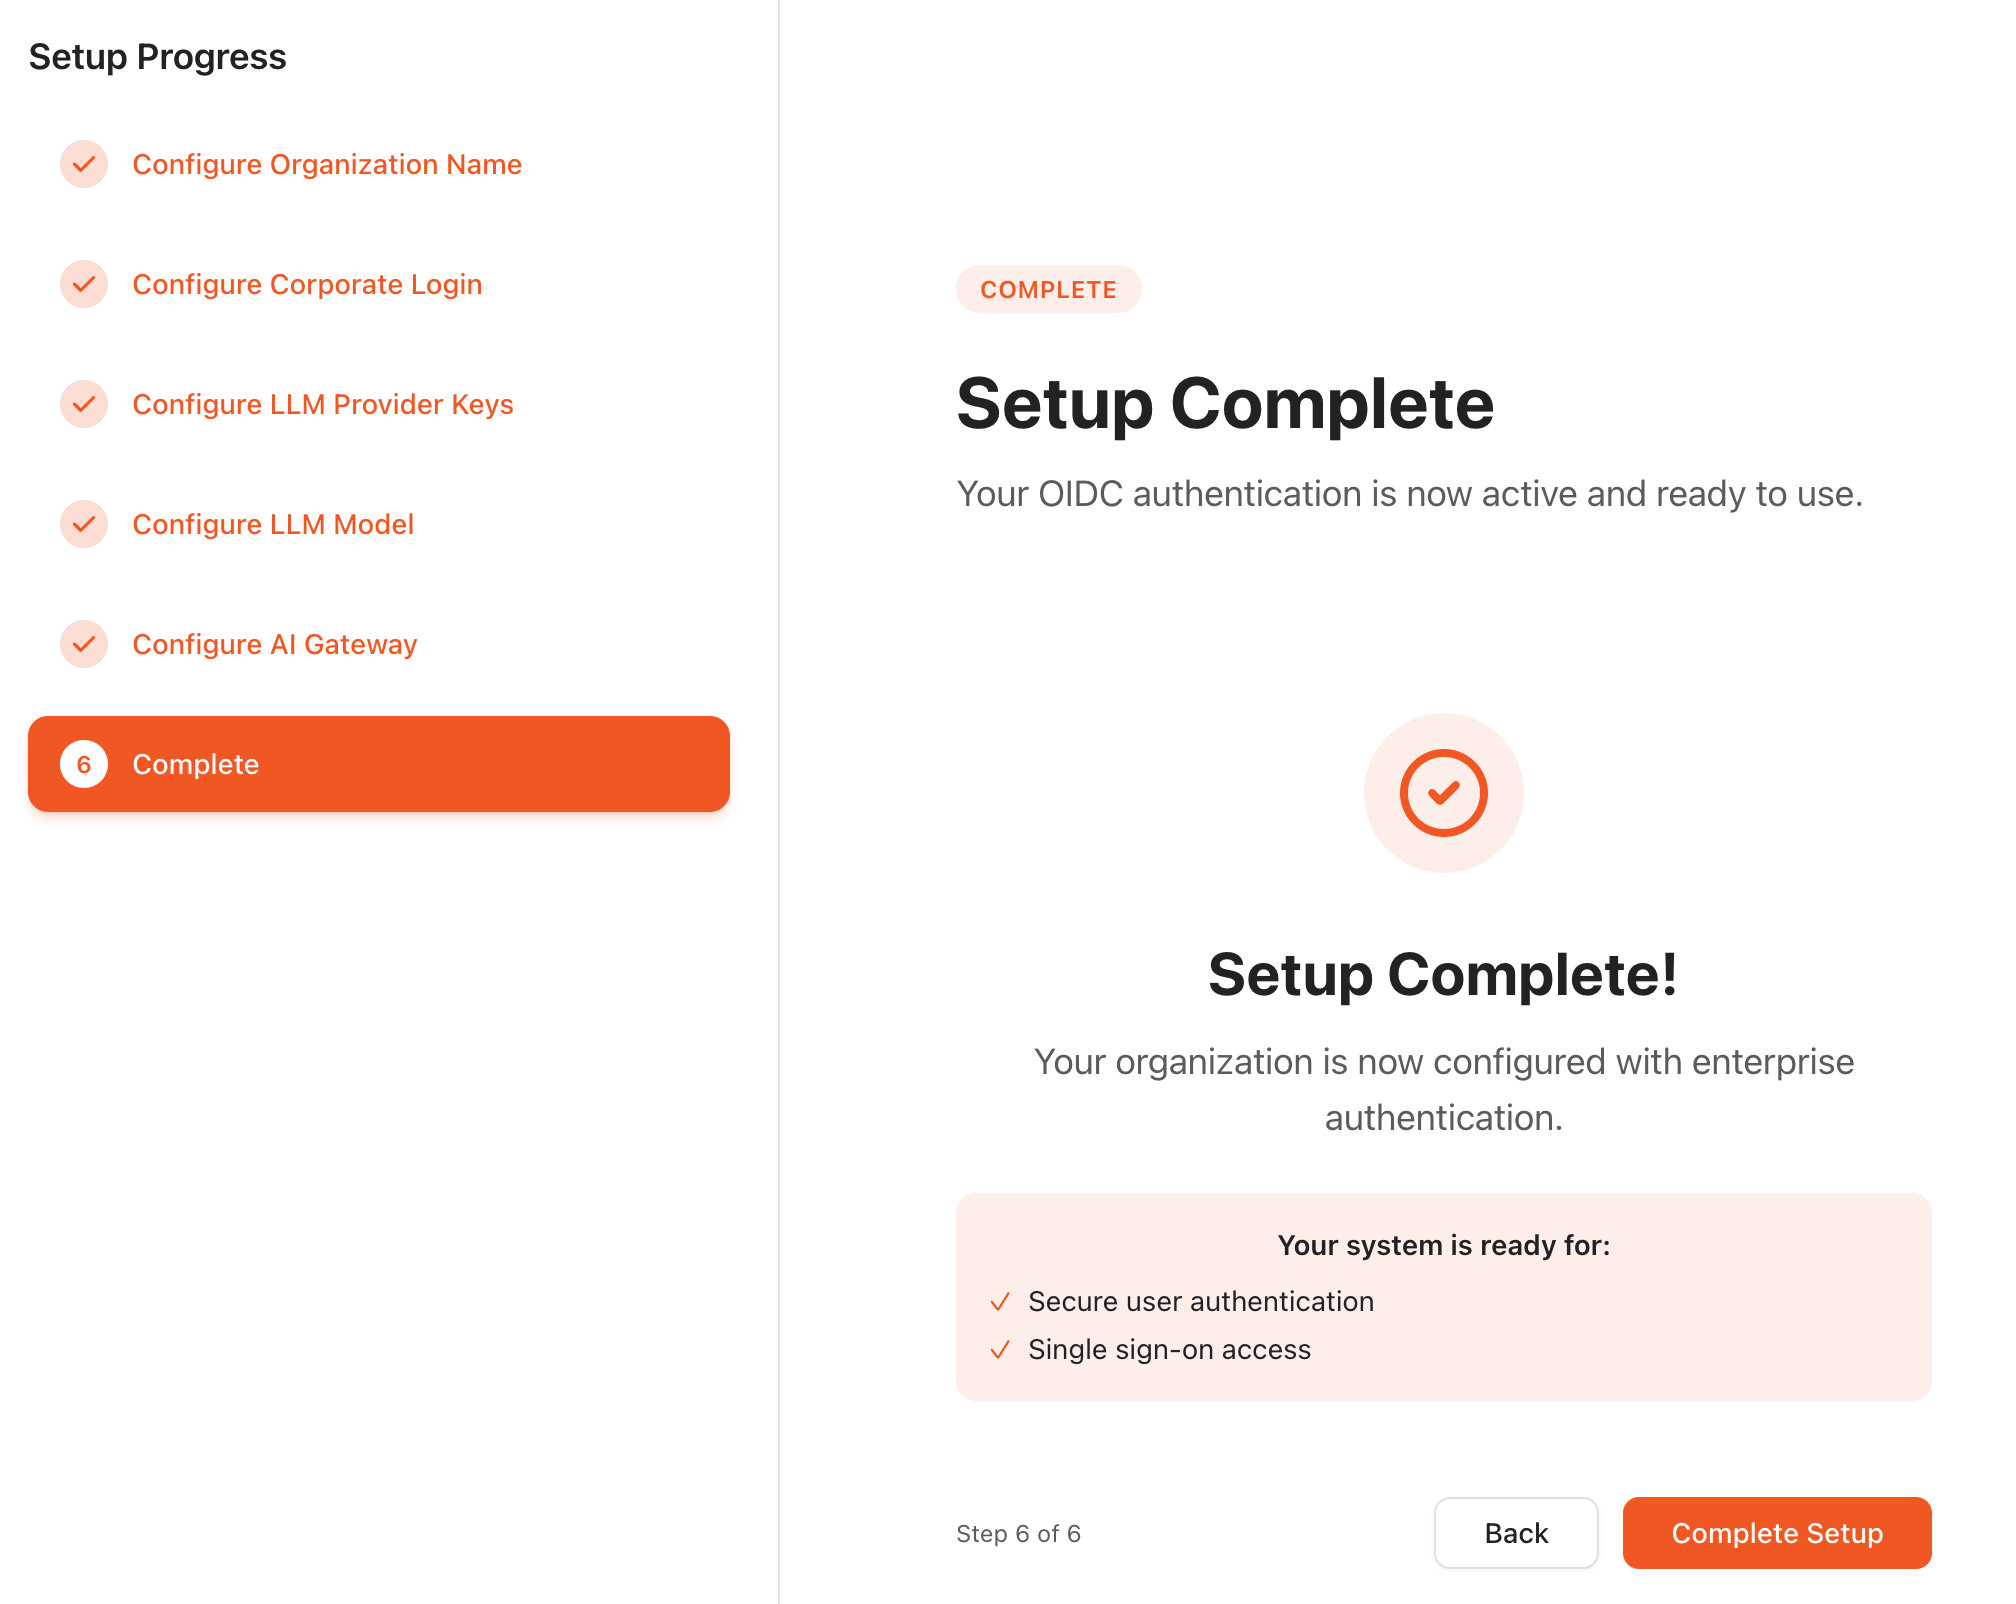
Click Complete setup to finish onboarding.
Where to go next